 How to switch a VPN connection to a private network
 To change your OpenVPN, Wireguard or other VPN connection from “public network” to “private network” in Windows 10, you can use one of the following methods.
Note: you can use the reverse to transform a VPN connection from “private network” to “public network”, but that would be weird, so I’d love to hear your use case in a comment ![]()
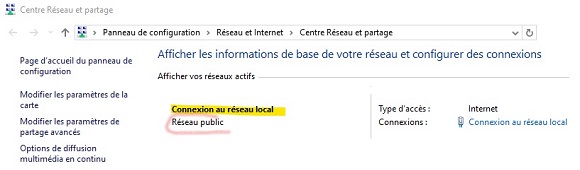
Method 1: Via Network Settings
- Open Settings :
- Click on the Start button, then on Settings (gear icon).
- Go to Network and Internet :
- In Settings, click on Network and Internet.
- Changing connection properties :
- Click on Status in the left-hand menu, then on Edit connection properties under your VPN connection.
- Under Network profile, select Private.
Method 2: Using PowerShell
- Open Windows PowerShell as administrator :
- Click on the Start button, type PowerShell, right-click on Windows PowerShell and select Run as administrator.
- List network connections :
- Type the following command to list all network connections:
Get-NetConnectionProfile
-
- Note the Name or InterfaceAlias of your VPN connection.
- Change network type :
- Type the following command to change the network type to private, replacing Name or InterfaceAlias with the one you noted earlier:
Set-NetConnectionProfile -Name “NomDeVotreConnexionVPN” -NetworkCategory Private
OR
Set-NetConnectionProfile -InterfaceAlias “NomDeVotreConnexionVPN” -NetworkCategory Private
Method 3: Using Registry Editor
- Open Registry Editor :
- Press Win + R to open the Run dialog box.
- Type regedit and press Enter.
- Navigate to the appropriate registry key :
- Access the following key:
-
HKEY_LOCAL_MACHINE\SOFTWARE\Microsoft\Windows NT\CurrentVersion\NetworkList\Profiles
- Identify the network profile :
- In Profiles, you’ll see several folders with alphanumeric names.
- Click on each folder and check the ProfileName to identify the profile corresponding to your VPN connection.
- Change network type :
- Once you’ve identified the right profile, double-click Category.
- Change the value from 0 (Public) to 1 (Private).
- Restart network service :
- Press Win + R, type services.msc, and press Enter.
- Find and restart Network Location Awareness and Network List Service.
By following one of these methods, your VPN connection should be considered a “private connection” by Windows 10.